In this lesson we will learn how to turn a pin on and off. We will just use the internal circuitry of the robot, to turn on an LED on the Arduino board and then add the on-board buzzer to the equation.
Estimated time: 5 minutes
You will learn about:
Serial Write
Delay
pinMode
LOW/HIGH
Components Needed
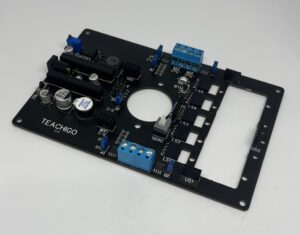
Main Board
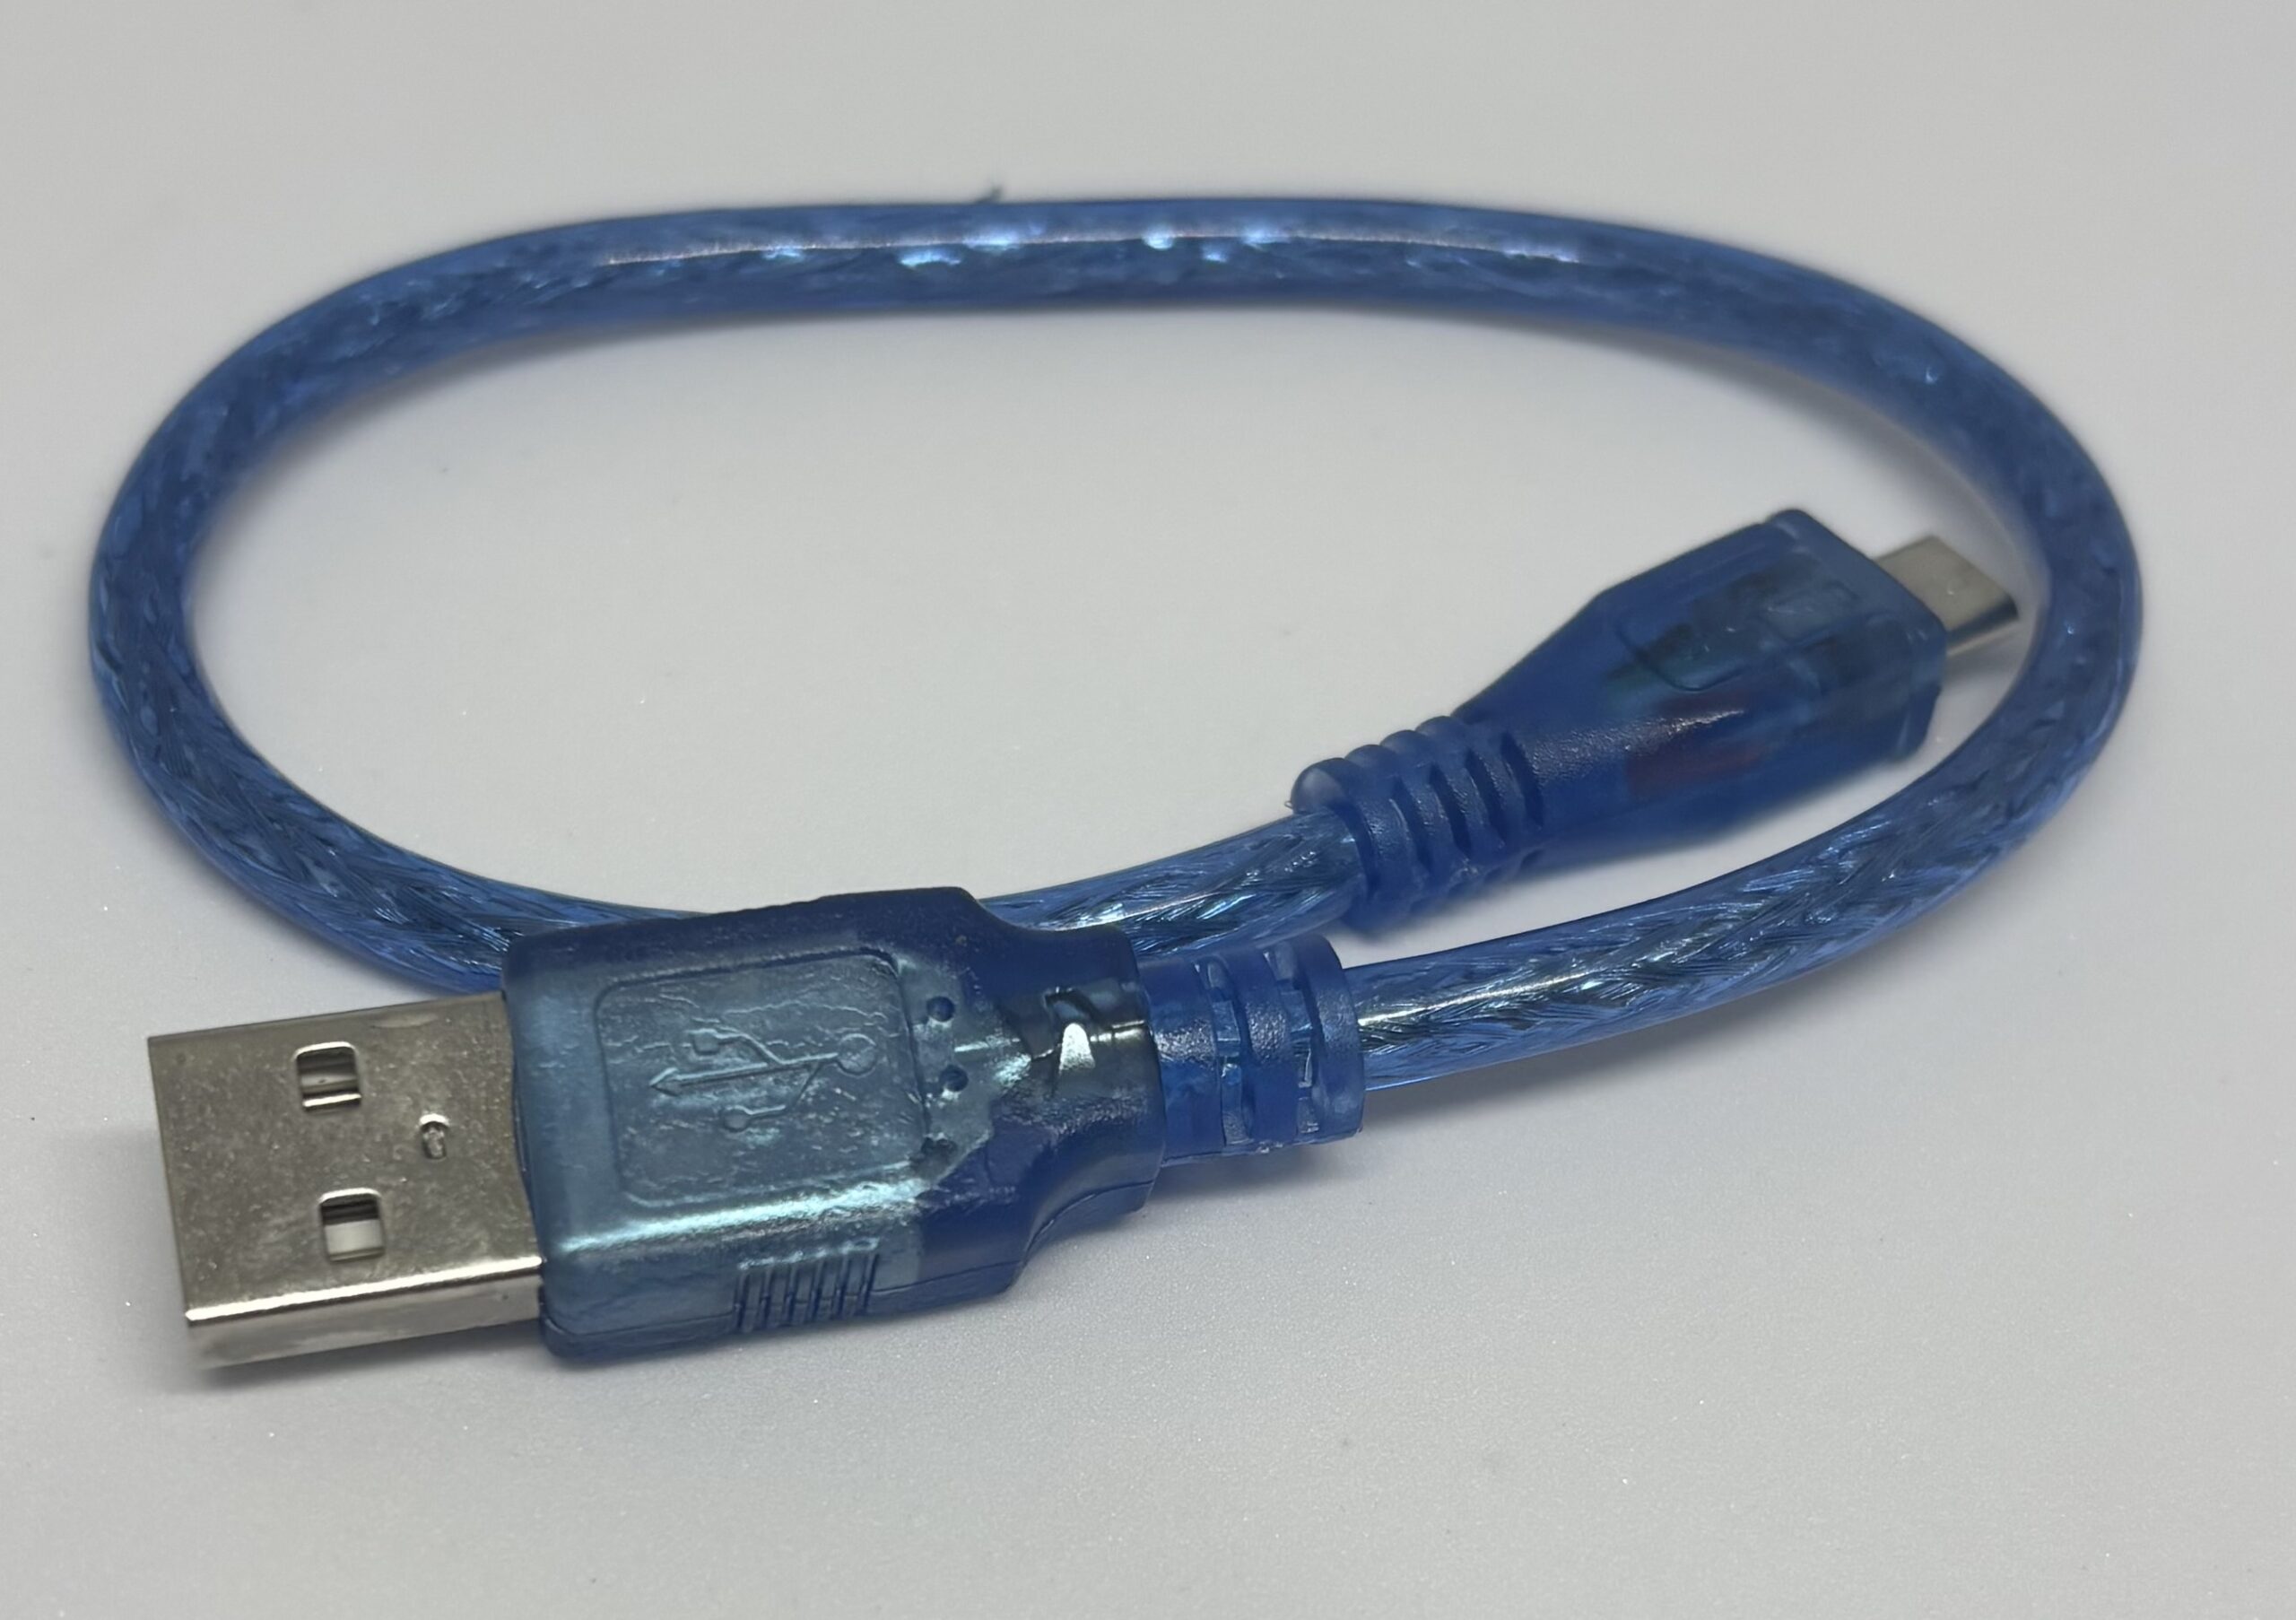
USB Cable
Step1
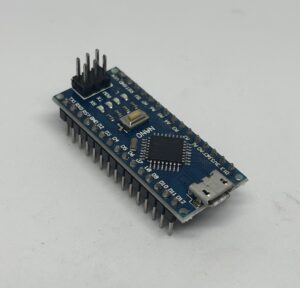
Connect [|]For that, you need to place the Arduino on top of the Arduino pin headers [|]the two big 30 holes pin headers]] , while the USB port of it is facing the edge of the board, you should be able to see the access pins of the Arduino pin headers at both sides of the Arduino board, then push it in place to ensure the Arduino board is connected properly.]
the Arduino to the Main board.
Step2:
Plug in the USB cable[|] the USB type B to Micro USB, which you can get from a cellphone charger also]
to the Micro USB port of Arduino
Step3:
Upload [|] Follow this]
the following code to the Arduino.[This code can be found in Files/Examples/01Basics/Blink in Arduino IDE]
//the setup function runs once when you press reset or power the board
void setup() {
  //initialize digital pin LED_BUILTIN as an output.
  pinMode(13, OUTPUT);
}
//the loop function runs over and over again forever
void loop() {
  digitalWrite(13, HIGH);  // turn the LED on (HIGH is the voltage level)
  delay(1000);                      // wait for a second
  digitalWrite(13, LOW);   // turn the LED off by making the voltage LOW
  delay(1000);                      // wait for a second
}
Code Explanation
In line 1 and 3 and 6,[|] we have a line that starts with ‘//’ , any line with that at the start, doesn`t get read by the microcontroller, we use them for commenting or explaining or turning one line ON and OFF.] .
In line 2,[|] we define the start of the Void setup part of our code which runs only once when we turn the robot ON.] .
In line 4,[|] we use the pinMode to define our pin (here pin 13 which is connected to built-in LED on the Arduino board and Buzzer) as OUTPUT which enables us to set that pin to HIGH or LOW, with it`s highest capacity, otherwise our LED may appear dim when turned on. (Our possible terms for pinMode in our lessons are OUTPUT, INPUT , INPUT_PULLUP)(also note that we could have set a name for our pin before and recall it by that name here like “digitalWrite(mypin,HIGH)”, or for pin 13 only we can use ‘LED_BUILTIN’ and there’s no need for prior definition).] .
In line 5,[|] we close the void setup part of the code.] .
In line 7,[|]we start our void loop part of the code , which runs repeatedly in a loop as long as we power our Arduino.] .
In line 8,[|]we use the digitalWrite function, which turns our pin HIGH ,corresponding to ON or 5 volts. Every time the pin receives 5 volts, our LED (and Buzzer) will turn ON.] .
In line 9,[|]we use delay function, which delays the microcontroller from doing any other things, meaning it will keep doing what it was doing before this line for the duration of time we define in parenthesis in Milliseconds or one thousands of a second. In this case 1000 Milliseconds or 1 second.] .
In line 10,[|]we use the digitalWrite function, which turns our pin LOW ,corresponding to OFF or 0 volts. Every time the pin receives 0 volts, our LED (and Buzzer) turns OFF.] .
In line 11,[|]we have another delay of 1000 Milliseconds.] .
In line 12,[|]we define the end of the Void loop part of our code.] .
Further Experimentation
Increase or decrease each delay value to see how it affects the blinking.
Practical Usage For our Projects
We can use digital Write function for turning ON/OFF our LED and BUZZER when the robot sees an edge, sees path following designator marks in a line following track to report its position on the track.
We can also use that function to turn ON and OFF a relay module which allows us to do Internet of Things projects for turning an electric device ON and OFF from afar, or turn a water pump ON and OFF in an automatic plants watering system.